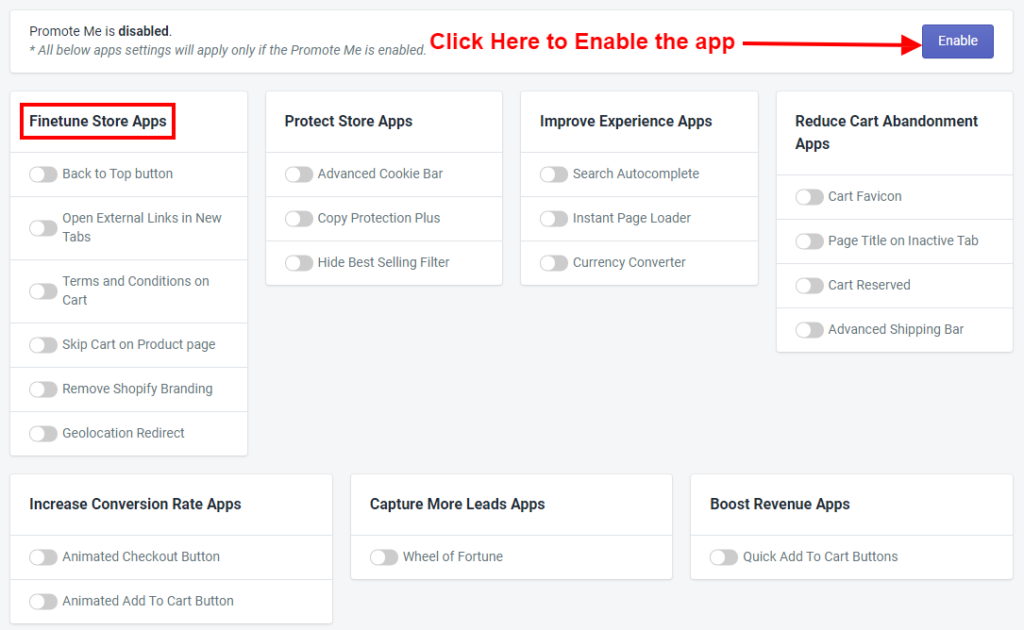
Thank you for joining. And let’s get started on the article and discuss one by one all the app features of Finetune Store Apps briefly.
Make sure Promote Me app status must be enabled to display amazing app features of Finetune Store Apps in your store.
1) Back to Top Button

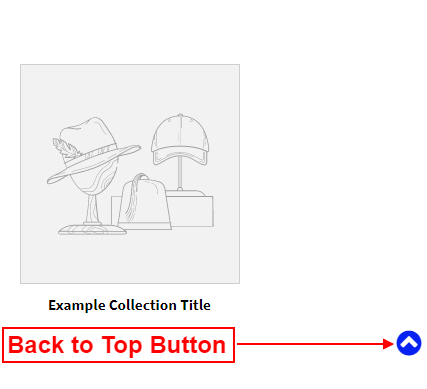
Make sure the status must be enabled to see the Back to Top Button on your page. By use of this app, when your page is scrolled down then automatically a small icon is visible in your pages at the lower right corner. Using this icon, after scrolling down, there is no need to scroll up again, just click on the Back to Top Button. It will immediately take you to the top portion of the page. Please make sure to click on the Save button after making any changes.

You can also select the color for this Back to Top Button as your store suite. There are lists of Icons for the Back to Top Button so you can also change the icon as your choice. Please make sure to click on the Save button after making any changes.

Here you can customize the position of the Back to Top Button by adding the CSS Sector of the page or JavaScript Code where you want to put the button.
2) Open External Links in New Tabs

When you have any external links that you want to open in a new tab then this app will work with it. Generally, when external links are on the page, they will open by default in the same tab. So if you want to stay on the same page and open these links in another tab, then enable the Open External Links in New Tabs app, and then after in your store, any external links will automatically open in the new tab. Please make sure to click on the Save button after making any changes.
3) Terms and Conditions on Cart

You can add the Terms and Conditions checkbox to your cart page that customers must check before continuing to the checkout. If a customer doesn’t check the checkbox before clicking the checkout button, an alert pop-up will prevent them from continuing. For that, you must enable the Terms and Conditions on Cart app. Please make sure to click on the Save button after making any changes.
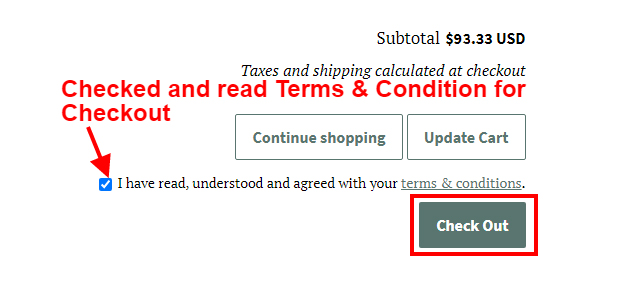
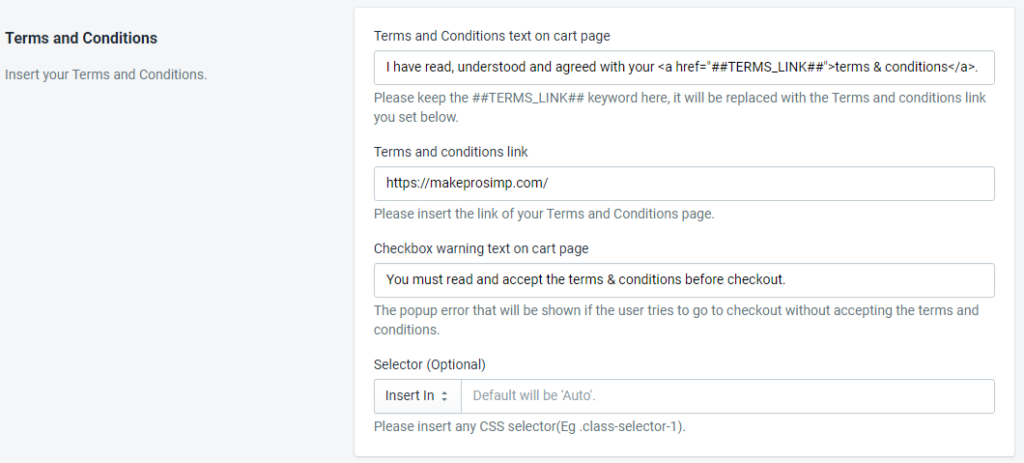
Here as per the above snapshot, you can specify the text which you want to display in the Terms and Conditions text on the cart page. Then you can specify the link which contains the text/list of terms and conditions, which can be opened by the customer for reading. Also, you can specify the text for the Checkbox warning message text which will pop up while the user clicks on the checkout button without accepting the terms and conditions. And at last, also you can define the position by using the CSS.

Here you can customize the position of Term and Condition, which you want to adjust on the Cart page using the CSS Sector or JavaScript.
4) Skip Cart on Product Page

By use of this app, you can skip the cart and directly move to checkout to reduce the time. For that, you must enable the Skip Cart on the Product Page app. Generally, on the product page, there is an add-to-cart button for adding the product to the cart, and if you want to purchase the product then you must go to the cart. By using this app, you can skip the cart and directly move to the checkout page to purchase the product.
5) Remove Shopify Branding

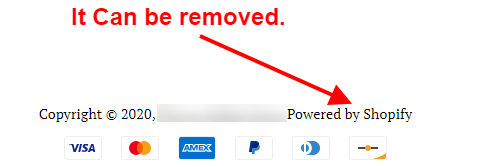
By use of this app, you can remove the branding of Shopify from your store. This Shopify branding is available on your web page’s footer part.
6) Geolocation Redirect

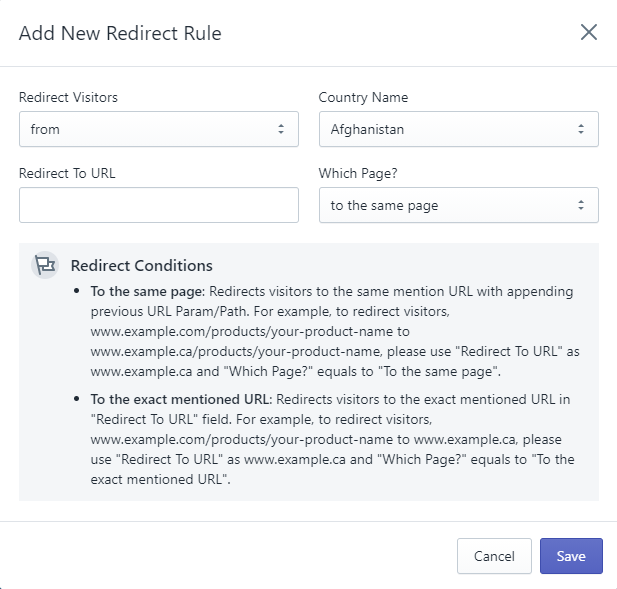
You can enable the Geolocation Redirect to redirect visitors. Geolocation redirect means Geo is IP-based redirection which is the process of automatically redirecting a website visitor by their geolocation (country, state, or city). It works by detecting the visitor’s location from their IP address by matching it against a database of IPs and locations. Please make sure to click on the Save button after making any changes.

Redirect Conditions
To the same page: Redirects visitors to the same mentioned URL by appending the previous URL Param/Path. For example, to redirect visitors from www.example.com/products/your-product-name to www.example.ca/products/your-product-name, please use “Redirect To URL” as www.example.ca and “Which Page?” equals to “To the same page”.
To the exact mentioned URL: Redirects visitors to the exact mentioned URL in the “Redirect To URL” field. For example, to redirect visitors from www.example.com/products/your-product-name to www.example.ca, please use “Redirect To URL” as www.example.ca and “Which Page?” equals to “To the exact mentioned URL”.
